


The buns were snapped up shortly after I did the photography.
面包一出炉没多久便给家人扫光了!

杏仁奶油面包
Almond Cream Buns
Ingredients 材料(A)
340g Bread Flour 面包粉
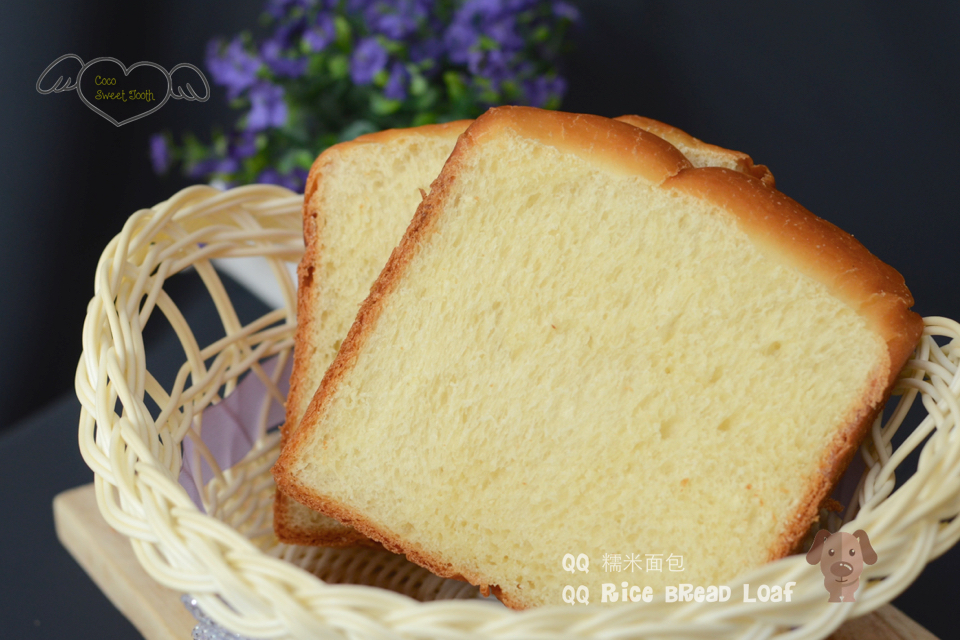
67g Glutinous Rice Flour 糯米粉
3/4 Tbsp Instant Yeast 速发干酵母
65g Egg 鸡蛋
30g Castor Sugar 细
1/2 Tsp Salt 盐
200g Fresh Milk 牛奶

(B)
40g Unsalted Butter 无盐奶油
Almond Cream Topping 杏仁奶油表面装饰 (C)
100g Salted Butter 咸奶油, cubed at room temp 切丁温室回温
90g Castor Sugar 细砂糖
40g Soft Brown Sugar 红糖/ Palm Sugar 椰糖
2 Large Eggs 鸡蛋(大)
100g Almond Powder 杏仁粉
50g Plain Flour 普通面粉 (optional自选)
Method 做法
将所有材料(A) 倒入搅拌器的钢盆中以慢速度搅拌搓揉成为一个不粘手的面团.

Add in butter (B) and slowly increase the speed to medium and continue kneading for approx 15-18 mins, until the dough becomes smooth and pass the window pane test.
把切成小块的奶油B加入然后依照片揉面标准程序继续以中速把面团搅拌(大约15-18分钟)成为撑得起薄膜的面团.

Add in butter (B) and slowly increase the speed to medium and continue kneading for approx 15-18 mins, until the dough becomes smooth and pass the window pane test.
把切成小块的奶油B加入然后依照片揉面标准程序继续以中速把面团搅拌(大约15-18分钟)成为撑得起薄膜的面团.
Transfer the dough to a slightly greased bowl, cover bowl with either cling wrap or cloth. Allow the dough to proof for an hour or until the dough doubled in size.
将揉好的面团滚圆, 收口朝下捏紧放入涂抹少许油的盆中, 罩上拧干的湿布或保鲜膜, 放置到温暖很密闭的空间进行第一次发酵约60分钟或至少两倍大.
Meanwhile, mix the topping ingredients (C) into a mixing bowl and cream until combine. Transfer the topping into piping bag and store in fridge for later use.
当等待面团发酵时,把杏仁奶油表面装饰 (C)的材料加入一个搅拌盆混合均匀,装入挤花袋后冷藏备用。

Test the readiness of the dough with a finger lightly dusted with low gluten or cake flour. The dough is ready when it remain indented after the finger pokes into it.
Meanwhile, mix the topping ingredients (C) into a mixing bowl and cream until combine. Transfer the topping into piping bag and store in fridge for later use.
当等待面团发酵时,把杏仁奶油表面装饰 (C)的材料加入一个搅拌盆混合均匀,装入挤花袋后冷藏备用。

第一次发酵完成后, 用手指沾上低筋面粉, 然后直接戳入面团中心. 如果戳出的洞陵没有弹回的迹象, 便完成第一次发酵. 如果戳出的洞渐渐回缩, 则再继续发酵5-10分钟, 然后再用同样的心方式测试.
Punch down the dough. Divide the dough into 12 equal portions and mould it round. Place the dough onto a baking tray lined with parchment paper or non stick silicone baking mat. 工作桌上洒上一些高筋面粉. 将发酵好的面团从盆子中移出. 面团表面也洒上一些高筋面粉, 然后将面团用手压下去将气体挤出来. 把面团平均分割成12等份, 然后滚成圆形. 完成的面团收口朝下间隔整齐放在已铺上烘培纸或不粘用硅胶烘烤垫。

Spray some water over the buns with a fine mist nozzle. Final proof the loaf in a unheated oven for another 50-60 mins.

Spray some water over the buns with a fine mist nozzle. Final proof the loaf in a unheated oven for another 50-60 mins.
将烤盘放入烤箱中, 面团表面喷些水然后盖上烤箱门, 再侍发酵50-60分钟至两倍大.
8-10 Mins prior to baking time, remove baking tray from oven and turn on the oven heat to 190C degrees.
发酵好前8-10分钟, 将烤盘从烤箱中取出, 烤箱打开预热刊至190C度.

Cut the top of the dough with a scissor, to make x cross.
在面团顶部用剪刀切割两条交叉割痕。
发酵好前8-10分钟, 将烤盘从烤箱中取出, 烤箱打开预热刊至190C度.

Cut the top of the dough with a scissor, to make x cross.
在面团顶部用剪刀切割两条交叉割痕。
Pipe the almond cream topping over the top of the dough.
将杏仁奶油馅料以螺旋状挤在面团表面上。
Bake the buns in the middle level of a preheated oven at 190C degrees for 15-18 mins.
放进已经预热至190C度的烤箱中层烘烤15-18分钟, 至表面呈现金黄色即可.


放进已经预热至190C度的烤箱中层烘烤15-18分钟, 至表面呈现金黄色即可.


