
Following my recent posting on pumpkin bread, I decided to adopt this ingredient into steam buns for its rich golden color and also the nutritional value it carry. Try choosing pumpkins with brighter orange color, the stronger color tends to be riper and sweeter in taste. And also, the concentration level of the pumpkin puree may differ, so do pay extra attention to the amount of water added to the dough. You may need to adjust the amount of water to be added to the dough accordingly. For pau making, it is not required to knead the dough until it passes the membrane test. Once the kneaded dough becomes manageably soft and shiny, it's ready for proofing.

I have studied many recipes on Pumpkin steam pau and not all of them propose the same cooking / steaming time. To be on the safe side, I opt to apply the steaming time based on previous pau recipes I had successfully experimented.

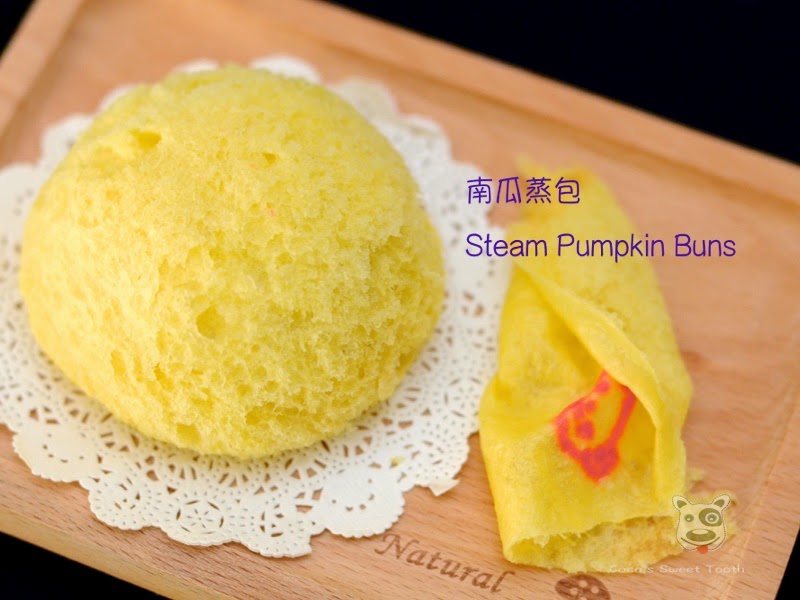
 Pumpkin Pau 南瓜蒸包
To Make Pau Skin (A)
1 Tsp Instant Yeast
160ml Water
120g Pumpkin Puree
330g Pau Flour (sieved)
50g Caster Sugar
1 Tsp / 5g Double Action Baking Powder
25g Rice Bran Oil / Salad Oil
For Fillings (B)
Any store bought lotus fillings
(if you make your own) (C)
150g Fresh Grated Coconut
35ml Water
40g Caster Sugar
Method
To make pumpkin puree, remove skin and cut into small cubes. Steam till softened. Discard water and mash it immediately while it is hot. Leave to cool.
Place enough water in a steamer pot and bring water to boil. Place a steaming rack which has cloth laid on it.
To prepare the fillings, cook ingredients (C) while stirring till it turns to pale yellow color. Dish up and cool. I use store bought fillings.
To prepare pau skin, mix yeast with 1/2 portion of the water well and set aside. In another big mixing bowl, combine all ingredients from (A) as well as the yeast water mixture. Add the remaining water to the dough and adjust based on the concentration of the pumpkin puree. You may stop adding water once a rough dough is formed. Transfer the dough to a slightly floured work table and knead for approx 20 mins or more till the dough becomes shiny and soft. I did mine in a stand mixer for the first 15 minutes before kneading by hand.


Place dough in a slightly oiled bowl and wrap with clingfilm and proof for 30 mins.
Lightly dust the work table with flour. Gently punch down the dough to deflate the air and knead for 1-2 minutes.

Divide dough into 16 portions. Roll each portion into a ball and then flatten. Place a spoonful of filling into the centre. gather the edges, seal the opening and lay each dough ball downwards on a parchment paper or muffin liners.
Repeat the process for remaining 15 portions.
Cover the pau with clingfilm and proof for 30 mins until double in size.
Arrange the pau on the steamer rack and steam over medium high heat for aproximately 15-20 mins (depending on size of the pau) or till cooked. Turn of the heat.
Open the steamer lid slightly to release the heat and let it stand for another 3-5 minutes before removing the lid. This is to prevent the pau from shrinking after cooling.

No comments :
Post a Comment